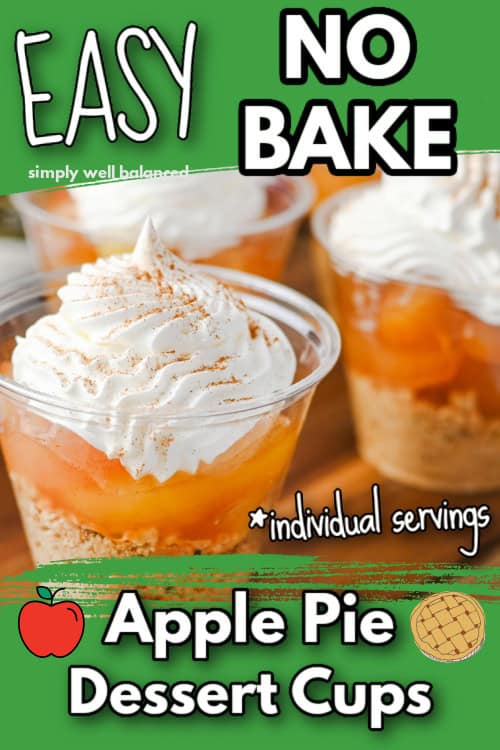
Easy No-Bake Apple Pie Dessert Cups Recipe
No-bake apple pie dessert cups are a simple, crowd-pleasing dessert made by layering crushed graham crackers, canned apple pie filling, and Cool Whip in individual cups. With just a 15-minute prep time and no oven required, this recipe is one of my favorite go-to fall treats!
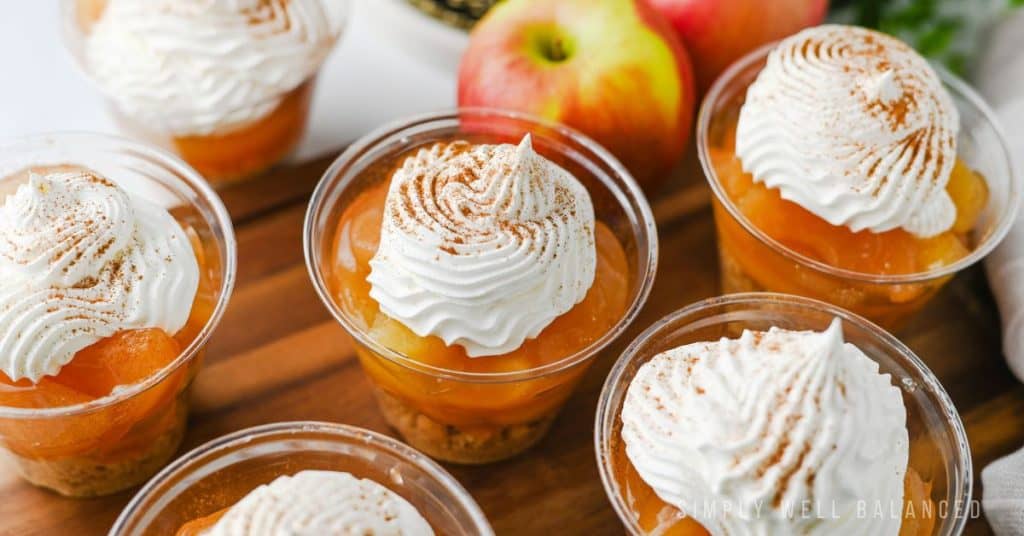
Individual Apple Pie Dessert Cups
Fall is here, and that means apple pie season is officially open. But turning on the oven, making pastry dough from scratch, and waiting an hour for a pie to bake? That’s a lot to ask of a busy mom.
These no-bake apple pie dessert cups give you all the cozy, cinnamon-spiced flavor of a classic apple pie, without a single minute of baking.
With just three main ingredients and 15 minutes of prep, this recipe is one you’ll come back to again and again.
It’s kid-friendly, budget-friendly, and easy enough to make with little ones by your side. Whether you’re whipping these up for a weeknight treat or setting them out at a holiday gathering, they never fail to impress.
Why Will You Love This Easy Apple Pie Dessert Cup Recipe?
Let’s be honest, some recipes are more trouble than they’re worth. This one earns its place in your recipe box for good reason.
- No oven required. No preheating, no baking, no hot kitchen.
- Ready in 15 minutes. Start to finish, you can have eight servings on the table faster than Amazon Prime.
- Kid-approved. Little ones love helping layer the ingredients, making this a fun family activity.
- Perfect for any occasion. Backyard BBQs, Thanksgiving dessert spreads, school bake sales or Family Movie Night.
- Easy to customize. Swap the filling, change up the toppings, or make them your own (more on that below).
These apple pie dessert cups are also a great make-ahead option. Prep them the night before, refrigerate, and they’re ready to serve the next day. No last-minute dessert panic required.
What Ingredients Do You Need for No-Bake Apple Pie Cups?
One of the best things about this recipe is how simple the ingredient list is. You likely already have most of these at home.
Serves: 8
Prep Time: 15 minutes
Ingredients:
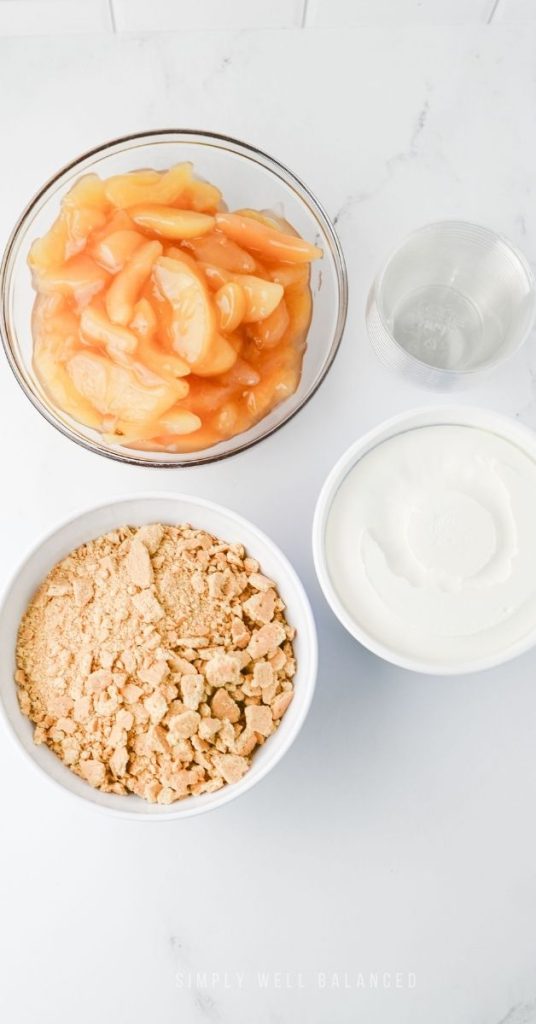
- 2 sleeves of graham crackers, crushed
- 2 cans (21 oz. each) of apple pie filling
- 3 cups Cool Whip (thawed)
- Ground cinnamon, to taste (optional)
- 9-ounce clear dessert cups (8 cups)
A few notes on ingredients:
- Graham crackers: Two full sleeves should give you enough crumbs for a generous base layer in all eight cups. You can crush them in a zip-lock bag using a rolling pin or pulse them in a food processor.
- Apple pie filling: Canned filling keeps things quick and consistent. If you prefer a smaller pieces of apple, give the filling a rough chop before using.
- Cool Whip: Make sure it’s fully thawed before you start. For a cleaner, more elegant finish, use a piping bag fitted with a star tip.
How Do You Assemble Apple Pie Dessert Cups Step-by-Step?
This recipe comes together in just four simple steps. Grab your cups and let’s get layering!
Step 1: Crush the graham crackers
Place the graham crackers into a zip-lock bag and crush them with a rolling pin until you have fine, even crumbs. Alternatively, use a food processor for a faster result.
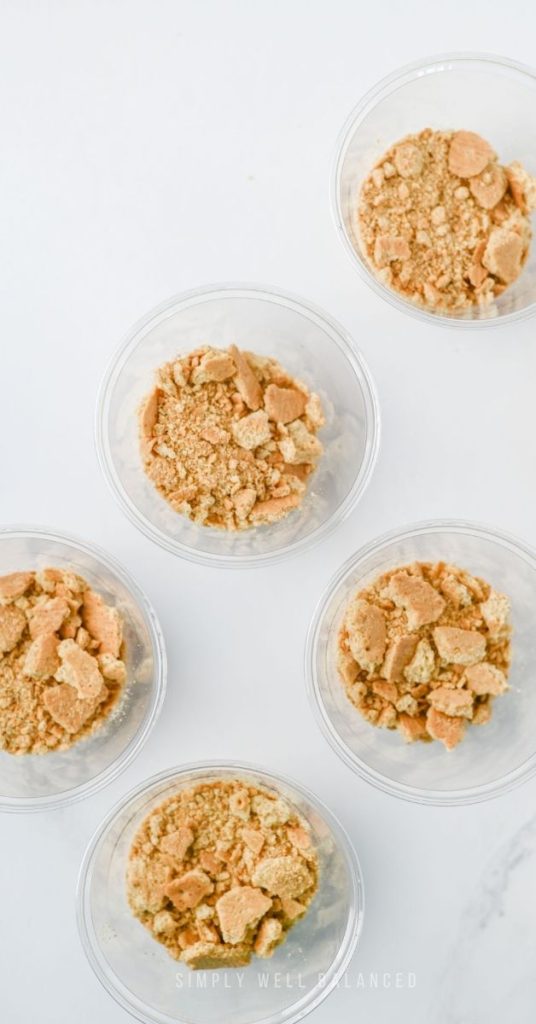
Step 2: Add the graham cracker base
Spoon a generous layer of crushed graham crackers into the bottom of each 9-ounce dessert cup. Press them down lightly with the back of a spoon to create a compact, crust-like base.
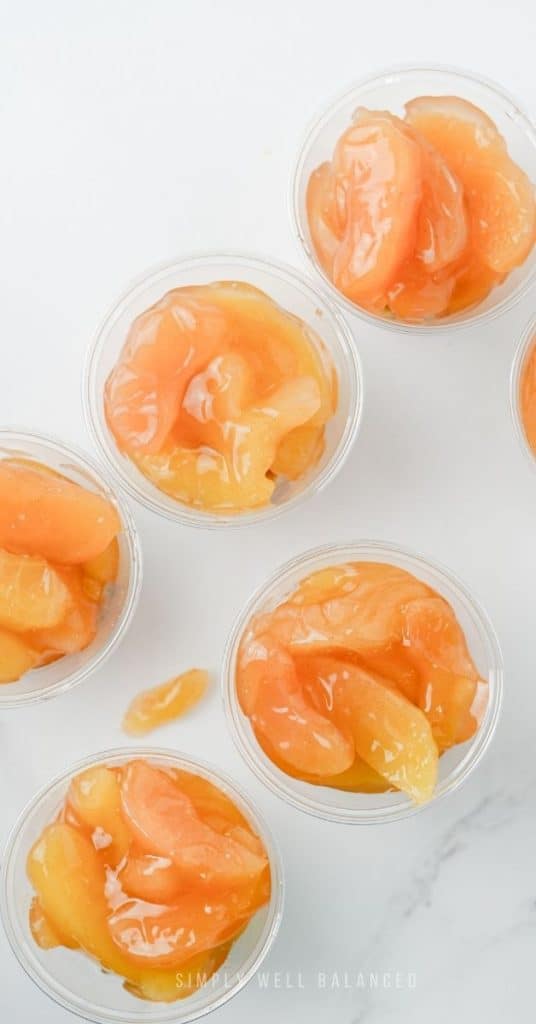
Step 3: Add the apple pie filling
Spoon the apple pie filling on top of the graham cracker layer, filling each cup about three-quarters of the way full. This leaves enough room for a good dollop of Cool Whip on top.
Step 4: Top with Cool Whip and serve
Spoon or pipe the Cool Whip on top of the apple filling. For a bakery-style finish, load your Cool Whip into a piping bag fitted with a large star tip and pipe a swirl on top of each cup. Finish with a light dusting of ground cinnamon, if desired.

Serve immediately, or refrigerate for up to 24 hours before serving.
No Bake Apple Pie Dessert Cups

Individual apple pie dessert cups that come together in just a few minutes with convenient ingredients. The perfect festive fall treat.
Ingredients
- 2 sleeves of graham crackers (crushed)
- 2 (21 oz.) cans of apple pie filling
- 3 cups cool whip
- Ground cinnamon (optional)
- 9 ounce dessert cups
Instructions
Add a layer of graham cracker crumbs to each cup.
Add apple pie filling (filling the cups 3/4 of the way).
Top with cool whip (we used a piping bag and piping tip).
If desired, sprinkle with cinnamon.
Nutrition Information:
Yield:
8Serving Size:
1Amount Per Serving: Calories: 40Total Fat: 0gSaturated Fat: 0gUnsaturated Fat: 0gSodium: 29mgCarbohydrates: 9gFiber: 0gSugar: 6gProtein: 0g
This is just an estimate. Do not use for diet, allergy or medical advice.
More Fall Recipes:
- Easy Pumpkin Pull Apart Bread Recipe
- No-Bake Frankenstein Dessert Cups
- 15 Family-Friendly Dinner Ideas for Fall
- Easy Apple Pie Punch (Non-Alcoholic Cider Recipe)
What Are the Best Tips and Variations for Apple Pie Cups?
Once you’ve mastered the base recipe, there are so many fun ways to mix things up. Here are some tried-and-true tips and creative variations to keep things fresh.
How can you make apple pie cups ahead of time?
These cups store beautifully in the refrigerator. Assemble them up to 24 hours in advance and keep them covered with plastic wrap or lids. Add the Cool Whip just before serving if you want it to look extra fresh and fluffy.
What are some easy swaps and variations to try?
- Swap the crust: Try crushed Biscoff cookies, gingersnaps, or vanilla wafers in place of graham crackers for a different flavor twist.
- Add caramel: A drizzle of caramel sauce between the apple filling and the Cool Whip takes these cups to the next level.
- Try a cream cheese layer: Mix 4 oz. of softened cream cheese with ½ cup of Cool Whip and add it as a middle layer for a cheesecake-style variation.
- Use spiced apples: Add a pinch of cinnamon, nutmeg, and brown sugar to your apple pie filling and warm it briefly on the stove before using. Let it cool before assembling.
- Make it a family project: Set up a little assembly station and let kids layer their own cups. It turns dessert into a fun, hands-on activity.
How do you get a neat, bakery-style finish?
A piping bag makes all the difference. Use a large star tip for a swirled, professional-looking topping that holds its shape. If you don’t have a piping bag, a zip-lock bag with the corner snipped off works just as well.
Frequently Asked Questions About Making No-Bake Apple Pie Cups
How long do apple pie dessert cups last in the refrigerator?
Apple pie dessert cups will stay fresh in the refrigerator for up to three days when stored in covered cups or airtight containers. The graham cracker layer will soften slightly over time, but the flavor remains delicious.
Can you freeze no-bake apple pie cups?
Freezing is not recommended for this recipe. Cool Whip does not thaw well once frozen in an assembled dessert, and the texture of the apple filling can become watery. For best results, prepare these cups fresh or up to 24 hours in advance.
Can you use homemade apple pie filling instead of canned?
Yes. Homemade apple pie filling works beautifully in this recipe. Simply cook diced apples with butter, brown sugar, cinnamon, and a little cornstarch until thickened. Allow the filling to cool completely before assembling the cups.
What can you use instead of Cool Whip?
Freshly whipped heavy cream is a great substitute. Beat 1½ cups of heavy cream with 2 tablespoons of powdered sugar until stiff peaks form. Use immediately or refrigerate for up to four hours before topping your cups.
Are these apple pie cups suitable for kids to help make?
Absolutely. This recipe is one of the most kid-friendly desserts around. Kids can help crush the graham crackers, spoon in the filling, and even pipe the Cool Whip on top. It’s a great way to spend time together in the kitchen.
Bring These Individual Apple Pie Dessert Cups to Your Next Fall Gathering
No-bake apple pie dessert cups are the kind of recipe that earns you serious compliments with very little effort. The flavors are familiar and comforting, the prep is genuinely quick, and the individual servings make them easy to share at any gathering.
Keep this recipe bookmarked for your next holiday dinner, fall party, or whenever your family is craving something sweet and simple. Once you make these, they’ll become a regular request in your house (guaranteed).